
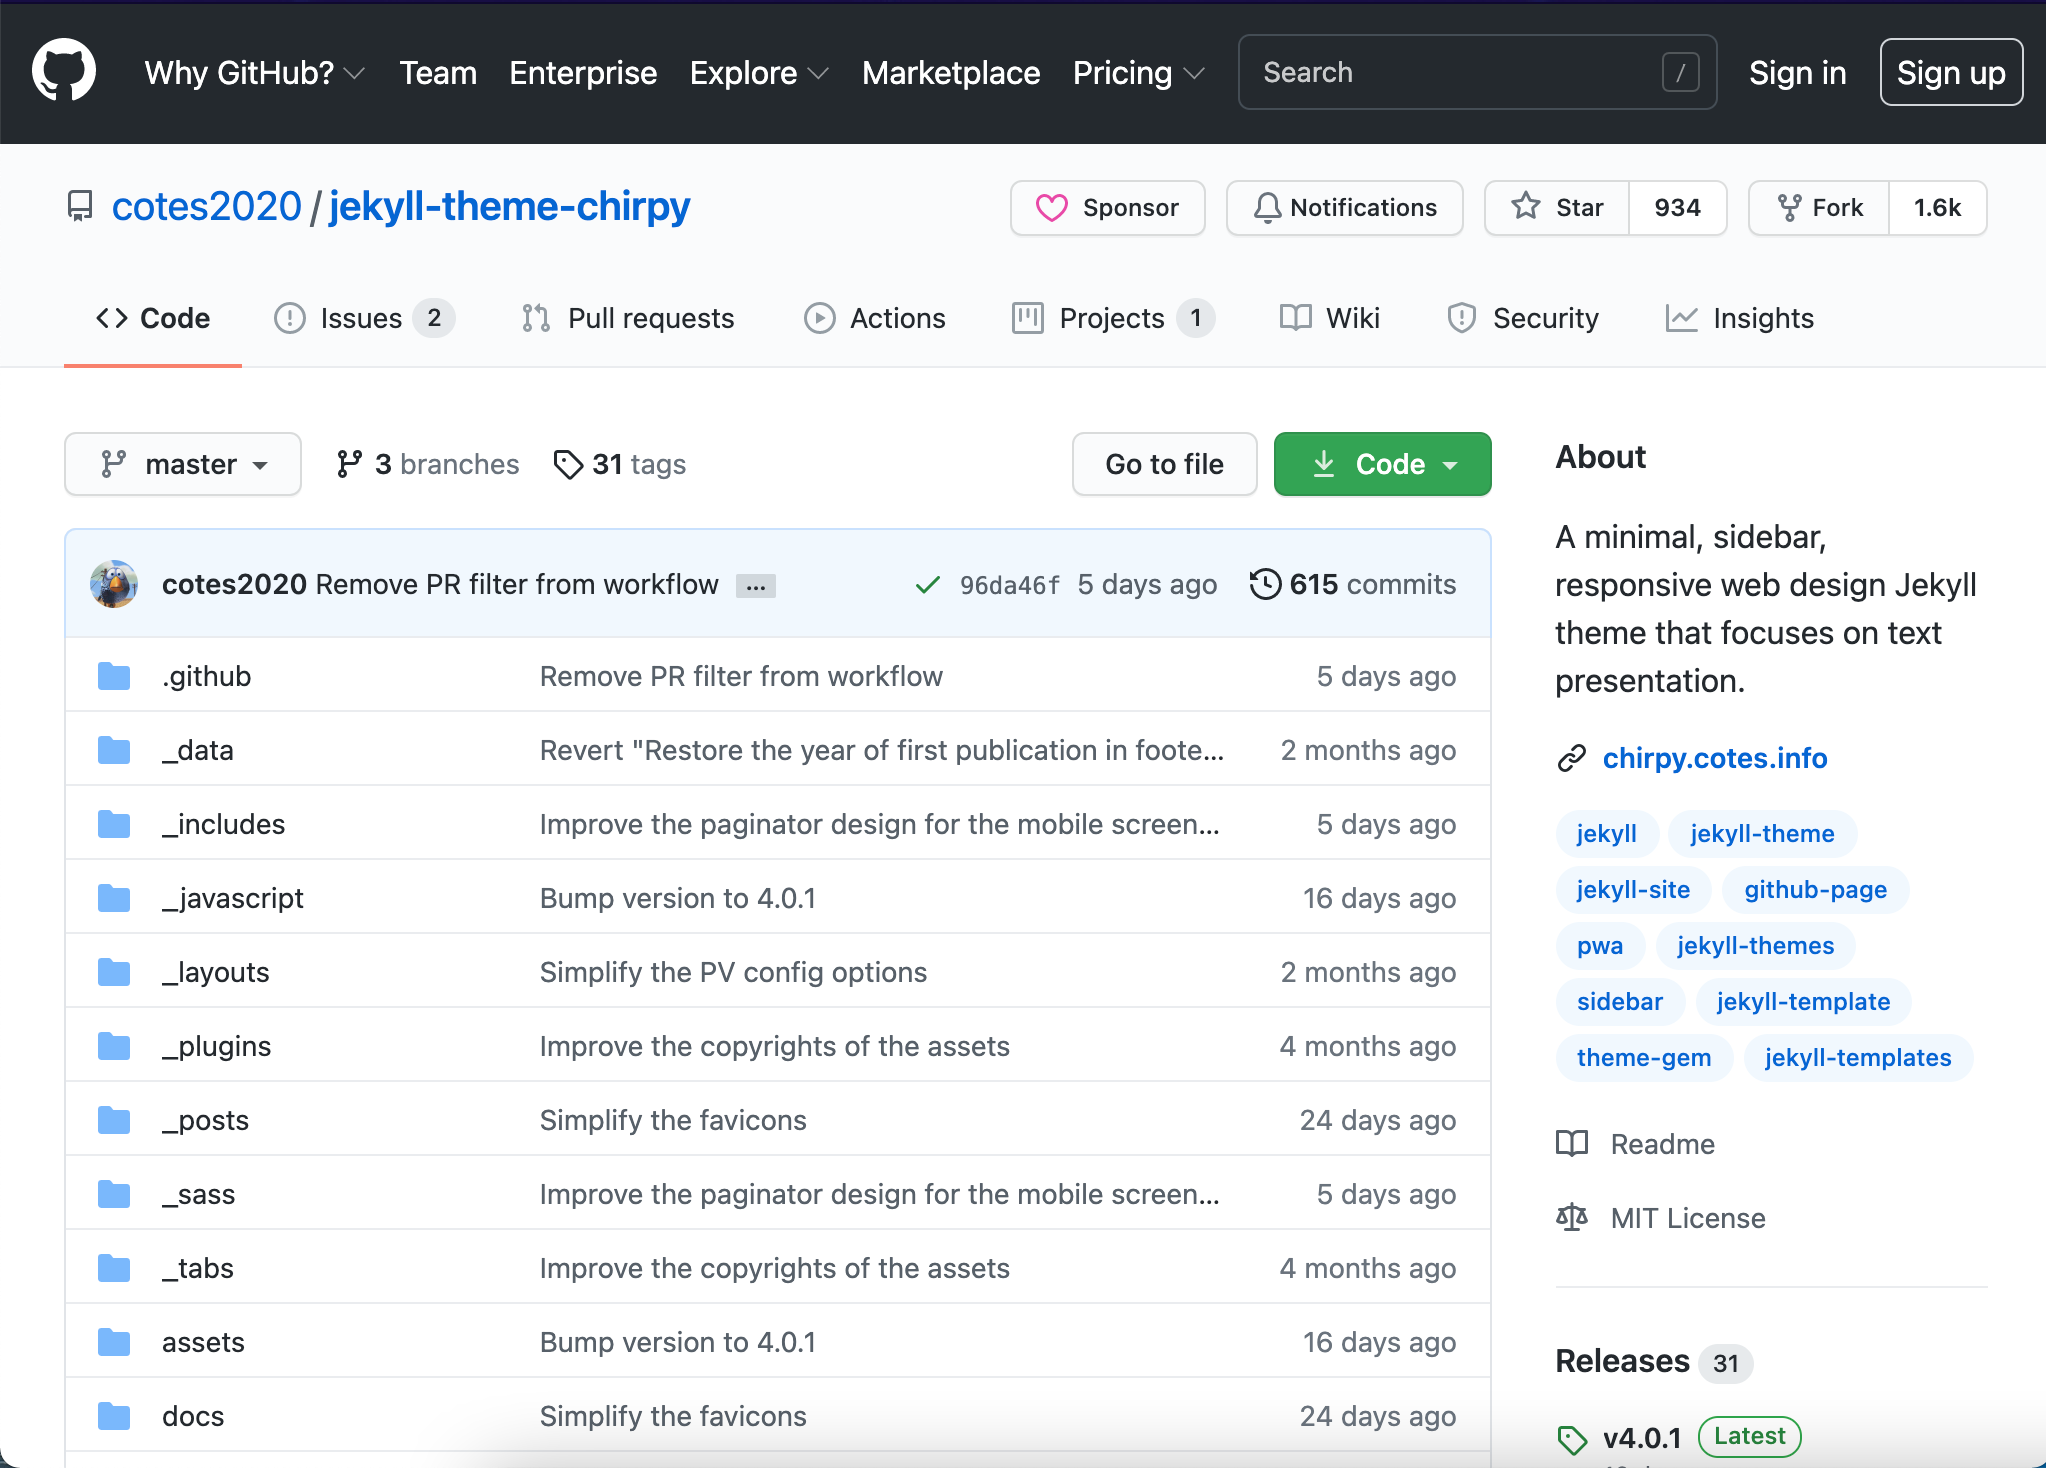
Jekyll is commonly used for creating static websites due to its efficiency and utility, and there are plenty of Jekyll templates available on GitHub that you can simply fork and edit. In fact, this website was also created using the jekyll-theme-chirpy, one of the more popular themes for building a blog; however, that is not to say that there were some complexities with using this template, especially with hosting on GitHub pages.
1. Setting up your environment
Download ruby
- Mac
If you are a mac user and have installed homebrew (if you have not, you should)
brew install ruby
- Windows
You can either download from ruby installer or use git bash as your workspace.
2. Choose jekyll template
Go to https://jekyllthemes.io/ to choose a theme of interest by checking out the provided demos.
You can alternatively visit http://jekyllthemes.org/ to use free templates.
For the purpose of this tutorial, we will be using the jekyll-theme-chirpy.
3. Fork the GitHub Repository
After you go into the GitHub repo via the link provided with the templates, you will be able to see the fork button, which if you click, it will automatically add the repo into your GitHub.
Fork is at the top right.

4. Git clone
Enter the local directory that you want your file to be in and using the url of your repo, replace the username with yours.
git clone https://github.com/username/jekyll-theme-chirpy
This will create a copy locally.
5. Directions for Initialization in README.MD
Every jekyll template has different instructions listed in their README.MD jekyll-theme-chirpy requires you to first enter your directory and enter the following commands
$ bundle // installs your dependencies
$ bash tools/init.sh // initialization
6. Running Jekyll Website locally
Later on, before you make your edits, you can run the jekyll website locally by entering the command
$ bundle exec jekyll serve
which will return a window like

You can then access your website by visiting http://127.0.0.1:4000/
7. Personalize the Website
Jekyll templates are great in that in the _posts folder, if you just create a file in the format of date-title.md (e.g. 2021-5-24-Creating-Jekyll-Website.md) and paste in a template
1
2
3
4
5
---
title: Creating Jekyll Website
categories: [Computer Science, Web, Jekyll]
tags: [website]     # TAG names should always be lowercase
---
You can write your post using markdown (which is much more convenient than html), and it will automatically be stored in your home, categories, tags, archives (at least for jekyll-theme-chirpy and for most other templates as well).
If you want to change the default title, name, photo for your website, you need to edit the _config.yml file for the variables
- title: Jinha Kim’s blog
- description: A quirky individual just like you!
- url: https:username.github.io (or custom url / github url that you will be posting in)
- author: Jinha Kim
and so on. The file is pretty self-explanatory with comments that you can use to guide yourself on what information you can replace each default value with. Note that unless you are relatively comfortable with jekyll, it’s recommended to change only the variables storing your personal information.
You can also edit the files in the _tabs folder, where, for instance, the about.md file would be the page you will see when you click on about on the left column. Try writing and testing different files and seeing which part changes to get accustomed.
Everytime you make a change and reload http://127.0.0.1:4000/, you will be able to see the according changes made.
8. Hosting on GitHub pages
Hosting on GitHub pages is mildly annoying for the jekyll-theme-chirpy, but not too unreasonable. As listed in the directions under Deployment in the README.MD, first modify your repository name in GitHub to the url that you want it to have. For instance, if you are creating a personal website, replace the name to
username.github.io
If you host this repo with GitHub pages, then your link will be
Now try commiting to your repository by entering the following commands.
1
2
3
$ git add .
$ git commit -m “commit message"
$ git push origin master
After you do so, go to the Settings of your repo (top right) and to Options and to pages. There, if you ran successfully
$ bash tools/init.sh
then you should see a branch called gh-pages.
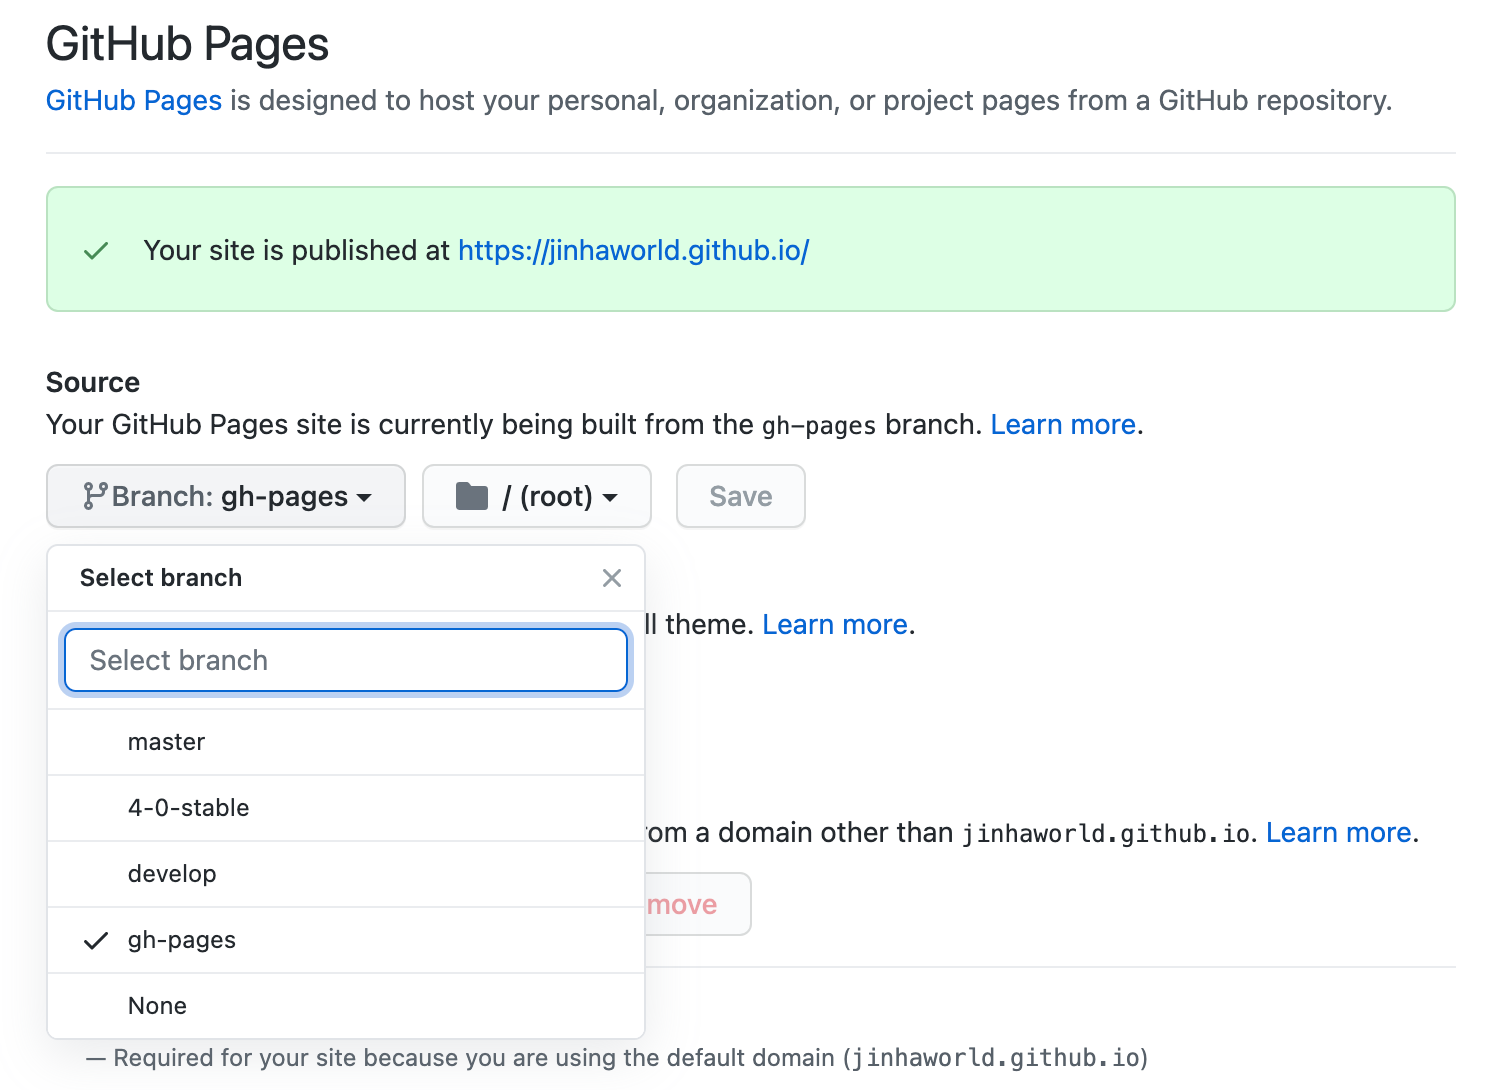
It is necessary to use gh-pages not master as the branch to host the website due to GitHub’s security policies. You can also run the above command to check whether it was done successfully, as if it has been, nothing additional will be done while if it hasn’t been, it will process (which will delete your posts). That is why ideally you should have ran it before editing.
Also note that it takes a decent amount of time sometimes for the commit / initialization to successfully run through. You can check their status by clicking on the actions, but don’t be impatient if your gh-pages doesn’t appear (it may just take some time).
Click save and after around 10 - 20 minutes, you will be able to click the link and see your website posted! If you cannot see it or the file displayed appears to be your index.html file, make sure that you put in the url of your GitHub page link in the _config.yml file. If you have not, do so and then push and try again.
It appears so that it takes quite a bit of time sometimes for the website to update. It is recommended to make small commits at a time if you want to see your changes made almost immediately.
9. Using Google Search Control
Your website is now completely built, but if you additionally want to make it searchable on google, you will need to use the google search control tool, verify, and then go through their setting up process. There will be a future post on how to do the following.